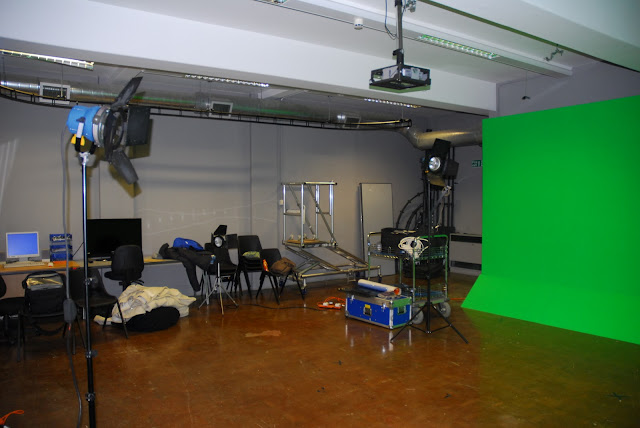
 and fittings as those found in the halls of Residence at the University
of Essex. The iSpace was built by re-fitting a room in the
Computer Science Department.
Unlike normal student accommodation on Campus the iSpace’s
furnishings are fitted with intelligent gadgets that can detect
and learn the occupant’s behaviour with the aim of providing
services that could improve the quality of their lives by generating
an environment that suits their needs. These intelligent
gadgets communicate with each other allowing groups of
agents to coordinate their actions, and allowing remote access
to their services via networks (e.g. Internet, GSM etc).
In
addition to ad-hoc sets
of gadgets, the iSpace is fitted with myriad of sensors and effectors
to enable the intelligent agents to monitor and make changes
to the room's environmental conditions.The sensor network
includes devices such as: temperature
sensors (both inside and outside the room); humidity sensors;
a small
matrix of light sensors across the room; an active entrance
lock system which provides
access based on an individual's identity; an infrared sensor
to detect movement and a video camera to externally monitor
the room. A number of effectors connected to the same networks
are also being installed these include: air circulators; fan
heaters; a door lock actuator;
motorised vertical blinds; automated window
openers and a light dimmer.
 the room's environmental conditions.The sensor network
includes devices such as: temperature
sensors (both inside and outside the room); humidity sensors;
a small
matrix of light sensors across the room; an active entrance
lock system which provides
access based on an individual's identity; an infrared sensor
to detect movement and a video camera to externally monitor
the room. A number of effectors connected to the same networks
are also being installed these include: air circulators; fan
heaters; a door lock actuator;
motorised vertical blinds; automated window
openers and a light dimmer.
The
iSpace network is configured in such a way that the status
of the effectors can be monitored and adjusted by both local
or remote users, or the agents embedded within the iSpace environment,
including those in gadgets. In other words, th e
agent can intelligently remember the user’s habit of
closing the blinds or dimming the lights under particular
environmental conditions and then make changes to the environment
according to those habits. Currently, we are working towards
an agent
that will continuously update its knowledge about user preferences,
such that the user will not have to explicitly interact with
the environment except in unusual circumstances. In summary,
the iSpace’s agents have the potential to make an environment
more economical, safer and more comfortable. They also have
the potential to improve the quality of life for those people
who require long-term care by providing autonomous
environmental management.
e
agent can intelligently remember the user’s habit of
closing the blinds or dimming the lights under particular
environmental conditions and then make changes to the environment
according to those habits. Currently, we are working towards
an agent
that will continuously update its knowledge about user preferences,
such that the user will not have to explicitly interact with
the environment except in unusual circumstances. In summary,
the iSpace’s agents have the potential to make an environment
more economical, safer and more comfortable. They also have
the potential to improve the quality of life for those people
who require long-term care by providing autonomous
environmental management.
 e
agent can intelligently remember the user’s habit of
closing the blinds or dimming the lights under particular
environmental conditions and then make changes to the environment
according to those habits. Currently, we are working towards
an agent
that will continuously update its knowledge about user preferences,
such that the user will not have to explicitly interact with
the environment except in unusual circumstances. In summary,
the iSpace’s agents have the potential to make an environment
more economical, safer and more comfortable. They also have
the potential to improve the quality of life for those people
who require long-term care by providing autonomous
environmental management.
e
agent can intelligently remember the user’s habit of
closing the blinds or dimming the lights under particular
environmental conditions and then make changes to the environment
according to those habits. Currently, we are working towards
an agent
that will continuously update its knowledge about user preferences,
such that the user will not have to explicitly interact with
the environment except in unusual circumstances. In summary,
the iSpace’s agents have the potential to make an environment
more economical, safer and more comfortable. They also have
the potential to improve the quality of life for those people
who require long-term care by providing autonomous
environmental management. 


