Animation 1 of 2 is pretty much done! Just a few more tweaks and it should be there:
This is Animation 1 of 2 for the YCN 2011/12 Feel Good Drinks Brief.
"Create a campaign that communicates 3 simple things: our brand name, what our drinks look like and that our drinks are choc-full of natural, tasty, fruitiness. And do all this in a way that is unique, memorable and makes people laugh."
I'm going to be making a series of adventure animations based off one of the characters on the side of thier bottles.
The aim was to move away from the usual look and feel of my normal 3D work.
The storyboarding, modelling, texturing, lighting, animation and post production was all done by me.
CONSTRUCTIVE COMMENTS WOULD BE GREATLY APPRECIATED
Music:
Creative Minds
By: Olive Musique
Tuesday, 28 February 2012

Monday, 27 February 2012
Artefact 2A: Lighting Research
Whilst I've been doing my compositing artefacts, I've come to recognise the importance of lighting...and the associated knowledge a compositor should know. To brush up on my skills, I thought I would do some lighting tests on a modelled scene. Artefact 2A so to speak:


Sunday, 26 February 2012


Messing Around in After Effects:
I got bored tonight, so messed around in Mudbox and tried out After Effects:


Sunday, 12 February 2012
Client - 2D / 3D Integration
So I've been messing around with 2D / 3D Integration this week as part of my Client project (Feel Good Drinks).
This is some progress on the 2nd animation for the series and some winter render tests:


This is some progress on the 2nd animation for the series and some winter render tests:


Friday, 3 February 2012
Tuesday, 17 January 2012
RESEARCH - ARTEFACT 1 - GREEN SCREEN KEYING
( Excuse the watermarks on some of the images - Student version of NUKE)

Okay, so my 1st Artefact was to look at keying within NUKE. To do this I had to start with learning the basics of the software and then the fundamentals of keying a green screen image. Further to this, I did some reading on "How to light a green screen", as it was going to be a big part of the project. Thanks to the videos and reading at digitaltutors.com for this!!!

So to make a start with the Artefact I began by travelling to Dovedale
over the weekend to get some nice backgrounds for the comps! I got some
great shots, but one of the first issues I faced when comping was the
incongruent foregrounds. My two models were not dressed correctly and
even once they had been colour corrected looked 'out of place'. - I used a few of them, but to get round this and for the sake of the artefact, I found some better backgrounds online.
If I am to continue with keying, next
time I will know to make sure the two stills are congruent! - In this
case the attire of the model must compliment the backgrounds.
As mentioned, once they initial
keying had been done, I played around with the position, grade and
colours of the images. The aim here was to "combine two or more images
to create a single seamless whole".
Some of the problems I faced:

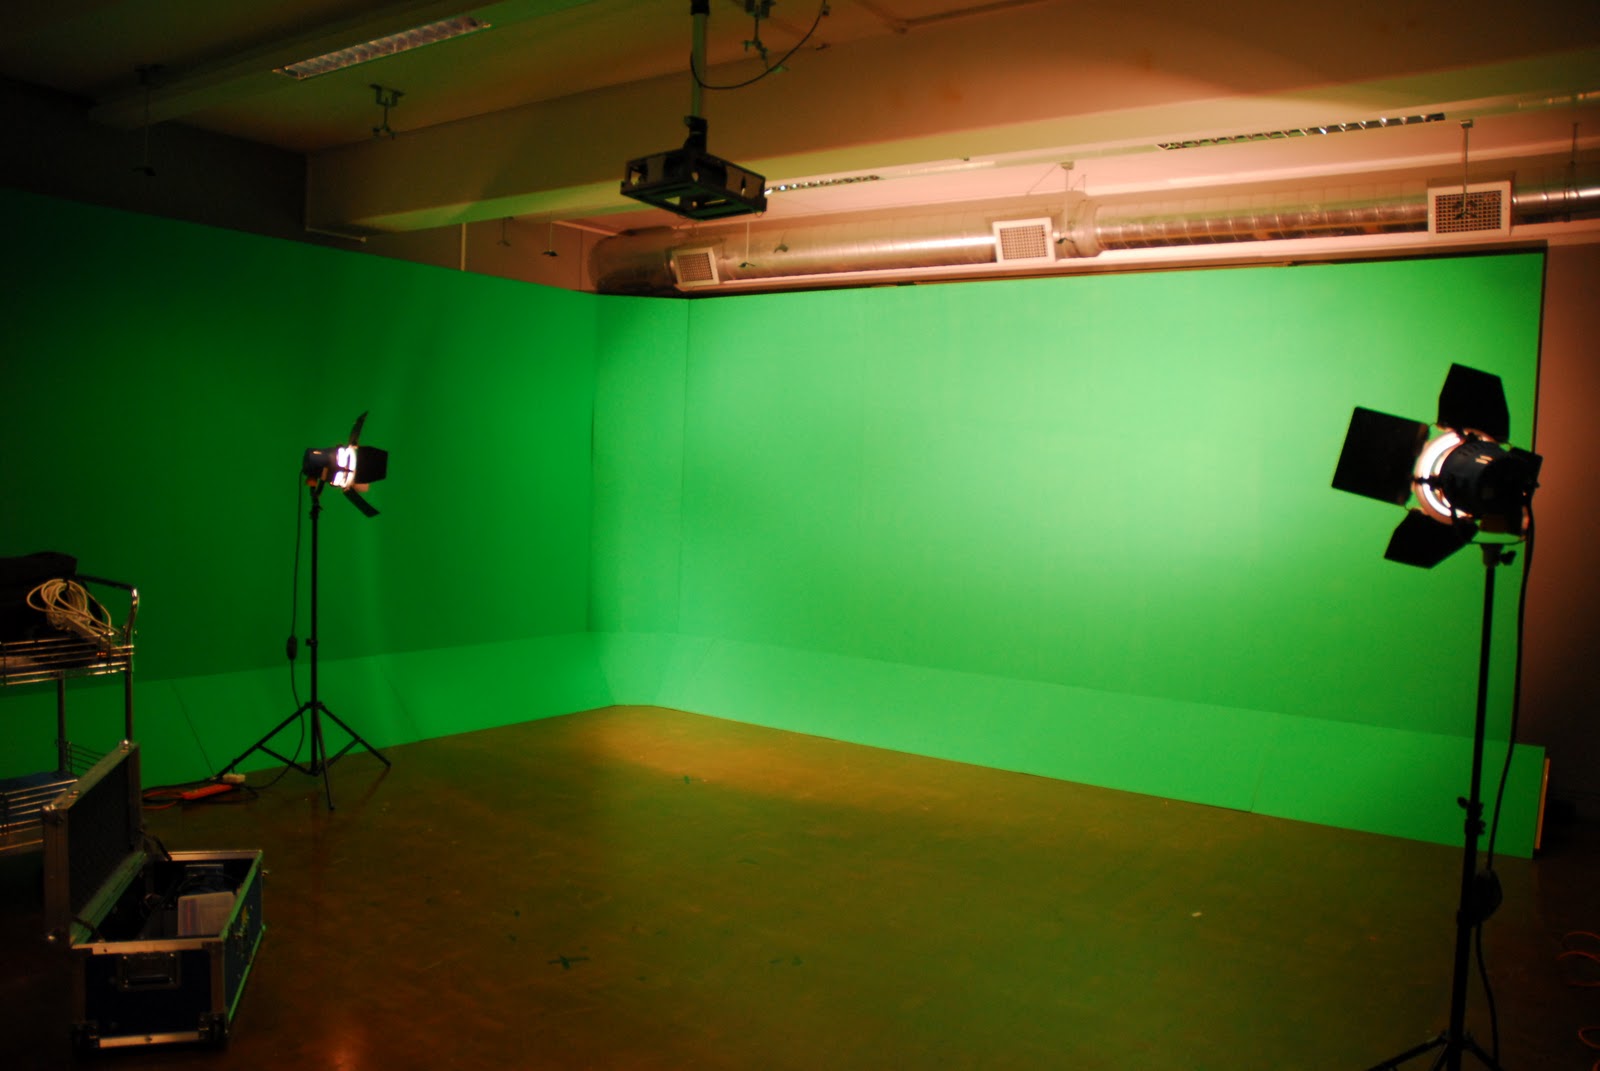
I hired out a D200 Nikon Camera, the Motion Capture Suite and two Lighting Kits. As you can see from the images, the lighting was one of the biggest problems. I began by attempting to get a clean single coloured lighting setup across the green screen. I played around with lights, angles and filters to eventually get the environment I was after. In addition to this, I had a third light at the back of the room to separately illuminate the subject.


Subscribe to:
Posts (Atom)